10 Years of TECHNO - 10 Pack Bundle (3500+ Samples Included) - Save $187+
Click Here
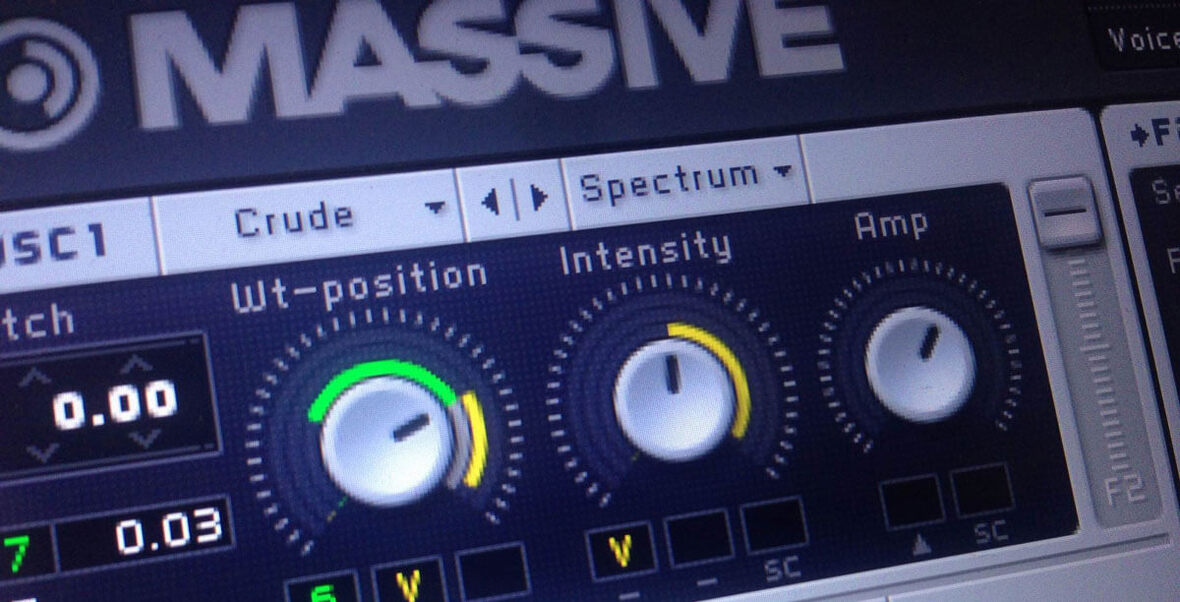
In this video, Echo Sound Works will show you how to use the Side Chain Feature (SC) to give...
claim
Claim
Your Cookie Preferences
This website uses cookies to give our users the best experience. You can manage your settings below or find out by reading our Cookie Policy .necessary only may adversely affect certain features, functions and performance on the website.
{"uid":-1,"ud":{"id":null,"fname":"","lname":"","eml":"","ph":"","city":"","state":"","country":"","zip":"","vndr":0,"admin":0,"editor":0,"content":0,"coursesub":0,"creditsub":0,"uname":"","ufst":0,"sbt":0,"lua":1714183121,"ap":[],"hash":"5a6dfeeaf6cec0a72ca948ed7d3a6b2c283f15a6199570a5a4c070091475e385","rlp":{"add":"no","amount":0}},"vf":[],"pw":[],"tu":[],"wcc":[],"wct":{"upsell_coupons":[],"applied_coupons":[],"coupon_amounts":"","coupon_amount":"","discount_type":"","coupon_excerpt":"","subtotal":0,"total":0},"crncy":{"usd":1,"cusd":"$","eur":0.932579,"ceur":"\u20ac","gbp":0.959916,"cgbp":"\u00a3","gbpclean":0.79993,"cgbpclean":"\u00a3","jpy":155.57,"cjpy":"\u00a5","eur-at":1.1190948,"ceur-at":"\u20ac","eur-be":1.12842059,"ceur-be":"\u20ac","eur-bg":1.1190948,"ceur-bg":"\u20ac","eur-hr":1.1657237500000002,"ceur-hr":"\u20ac","eur-cy":1.10976901,"ceur-cy":"\u20ac","eur-cz":1.12842059,"ceur-cz":"\u20ac","eur-dk":1.1657237500000002,"ceur-dk":"\u20ac","eur-ee":1.13774638,"ceur-ee":"\u20ac","eur-fi":1.15639796,"ceur-fi":"\u20ac","eur-fr":1.1190948,"ceur-fr":"\u20ac","eur-de":1.10976901,"ceur-de":"\u20ac","eur-gr":1.15639796,"ceur-gr":"\u20ac","eur-hu":1.1843753300000002,"ceur-hu":"\u20ac","eur-ie":1.14707217,"ceur-ie":"\u20ac","eur-it":1.13774638,"ceur-it":"\u20ac","eur-lv":1.12842059,"ceur-lv":"\u20ac","eur-lt":1.12842059,"ceur-lt":"\u20ac","eur-lu":1.09111743,"ceur-lu":"\u20ac","eur-mt":1.10044322,"ceur-mt":"\u20ac","eur-nl":1.12842059,"ceur-nl":"\u20ac","eur-pl":1.14707217,"ceur-pl":"\u20ac","eur-pt":1.14707217,"ceur-pt":"\u20ac","eur-ro":1.10976901,"ceur-ro":"\u20ac","eur-sk":1.1190948,"ceur-sk":"\u20ac","eur-si":1.13774638,"ceur-si":"\u20ac","eur-es":1.12842059,"ceur-es":"\u20ac","eur-se":1.1657237500000002,"ceur-se":"\u20ac"},"ga":null,"wplourl":"https:\/\/www.adsrsounds.com\/wp-login.php?action=logout&_wpnonce=b092c37e9c","usmsg":"","sbswtch":[],"sbsfav":[],"sbscmpl":[],"wpt":1714211937,"pccvc":[],"lpf":["1574986","611559","324393"],"vat":0,"time":1714183137}